Showing posts with label school age. Show all posts

Thursday, November 8, 2018

Get Twisty!

Sometimes when I'm short on programs, I refer to those online calendars that list every single local and national holiday that's ever been celebrated. That's how I found out that National Tongue Twister Day is November 8th. I wanted to have a tongue twister program, but couldn't figure out what we would actually DO in that program until I started searching for tongue twister-related crafts and activities. Thanks to a bunch of websites I didn't keep track of, I came up with a plan.

Station 1: Craft
Using only markers and construction paper, you can make this awesome tongue twister craft! I took it one step further and actually cut a slit in the mouth with scissors so the tongue could literally stick through. Some of the results were terrifying (mostly mine because I can't draw faces) and others were downright adorable. This is an example from Teaching Madness. Unfortunately, I was too busy running the program to get pictures of what our patrons made.
Image result for tongue twister craft

Station 2: Twister
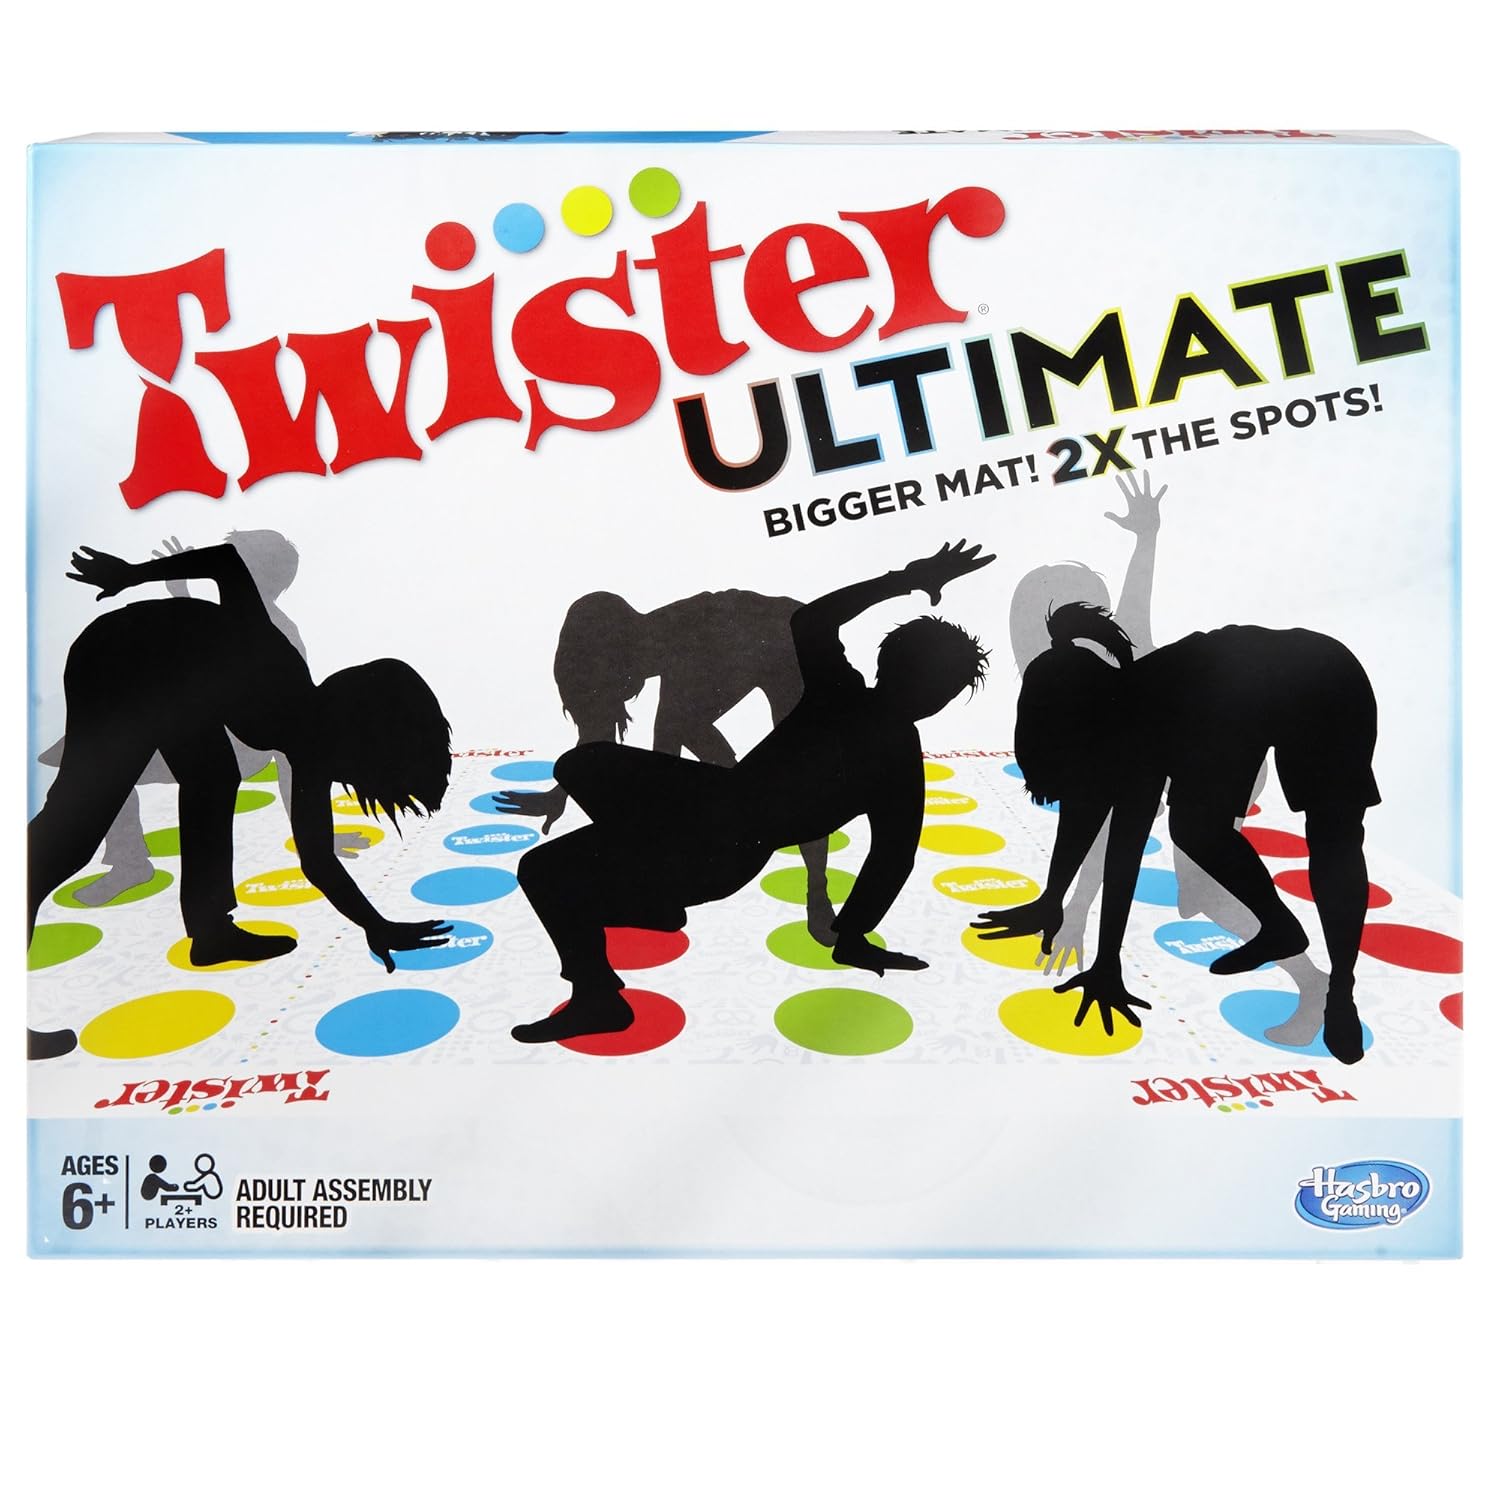
I ordered the actual game of Twister for this program. When I was clicking around Amazon looking for the best version, I found out that Finger Twister is a thing, too! I had to order two Finger Twisters in addition to an extra-large Twister board.

Station 3: Tongue Twisters
Of course, no tongue twister program would be complete without people actually reading them aloud. I set up the microphone and encouraged everyone to pick a tongue twister out of a hat and step up to the mic. Everyone who read one was entered into a drawing to win one of four prizes: the two Finger Twister sets, a small tongue twister coloring book, or a 3D printed Einstein with his tongue sticking out. 

Image result for einstein tongue out 3d print
This is just the 3D printer template. The finished product was much less terrifying.
This was a fun program that I might repeat in the summer or the next time National Tongue Twister Day rolls around!

Thursday, October 4, 2018

Welcome, Fall! Leaf Art

As the deadline to plan October programs approached, I realized I wasn't doing anything seasonal except the big Halloween storytime we do yearly. In the interest of trying to make myself more excited about Fall (it's getting cold and the trees are dying...yay?) I decided to put together a fun Fall craft program.

We had three stations: crayon rubbings, torn paper trees, and painted leaf prints. I structured this program as a drop-in for an hour and a half, and over 30 people came to make leaf art with me! This was a fun, easy program that I put together with things we already had in our supply room. If you want to recreate it, here is a supply list:

Crayon Rubbings
Crayons
Paper
Leaf Rubbing Plates

Torn Paper Trees
Torn construction paper in Fall colors
Brown construction paper for trunk
White paper for background
Glue sticks
Scissors

Painted Leaf Prints
Washable paint in Fall colors
Paper
Artificial Leaves

Also, it's becoming a wonderful theme that the kids who come to my programs are more creative than I am. Some of them figured out that the Leaf Rubbing Plates also make great paint prints! Here are some of the gorgeous finished products they made.
Torn paper tree and rubbings examples and supplies

Leaf print example and supplies

Artists at work

Artists at work
Finished torn paper tree

Finished leaf prints and paintings

Finished torn paper tree

Finished crayon rubbing

Finished torn paper tree

Finished torn paper tree

Finished art drying after the program

Thursday, February 15, 2018

Mad Science: The Science of Sound

Today in Mad Science, we learned all about what makes sound happen. I remembered vaguely that there was a Magic School Bus episode about sound, so I took to the trusty Internet to locate it and show a clip that would explain vibration and sound waves better than I am able to. At the beginning of the program, I showed two videos.


The first video was the Magic School Bus clip I was thinking of. It does a great job explaining how vibration makes sound, and the basics of sound waves. The second video is from The Dr. Binocs Show, one I was not previously familiar with. I like this one because it also goes over vibration and sound waves, but then furthers the discussion by talking about matter and the absence of sound in the vacuum of space.

For our experiment today, we did a mini DIY musical instruments lab. First we made a harmonica out of tongue depressors and rubber bands. I did this as a step-by-step workshop, not telling the next step until everyone had completed the current one. This way, no one got to the end and started playing their harmonica too early.


While it was difficult to teach while the kids were excited about making noise, I opened up a discussion about the construction of our harmonicas. What did the kids think could be done differently to produce a louder sound? A different pitch? What would happen if we removed the paper from inside?

They decided that the paper creates space between the sticks, which is necessary to create a vibration on the rubber band. According to the videos we watched, vibration is required for sound to happen. A couple of them constructed a second harmonica with no paper, and their hypothesis was proved correct!

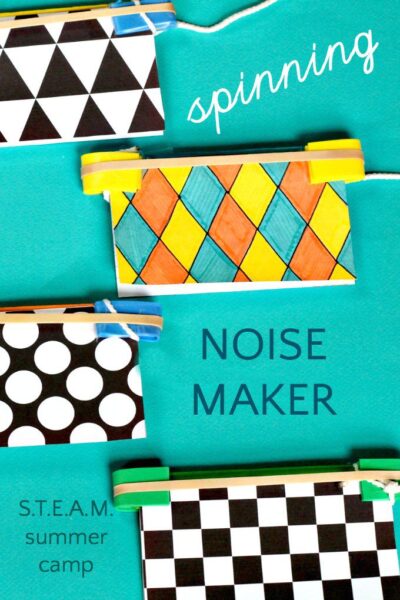
Our second experiment was a buzzing noise maker made with index cards, string, pencil-top erasers, and rubber bands. There is a great entry with a video on What We Do All Day that explains exactly how to make it. I did this project step-by-step as well, and didn't tell the kids that the aim was to spin it and make it buzz until everyone's was complete.

Science experiment for kids. How to make a spinning noise maker.

Like we did with the harmonica, I took a few minutes to talk about why the construction of this instrument works the way it does. We quickly identified the source of vibration, and also like the harmonica, realized that removing the index card stops the vibration, and therefore, the sound.

At the end of the program, we watched the two videos again for the handful of late-comers who missed them at the beginning. The kiddos were delighted to bring their buzzy new toys home, and I officially feel like a science teacher.

Friday, January 26, 2018

Make a 2017 Time Capsule

It's 2018 already! Even though we're almost done with the first month of the new year, I thought it would be a good idea to give our kids the opportunity to reflect on 2017 and look forward to what this year has in store for them. This program went through a lot of incarnations before I finally landed on what is below. I borrowed from a lot of websites, from stay-at-home mom blogs to official time capsule sites, and if you are planning your own time capsule program, i encourage you to do the same. Also, don't be afraid to go with your own creative instincts! That's what makes program planning fun.

The original idea for our time capsule vessels was to buy plastic containers, but we have a small yearly budget and I did not want to limit the amount of people who came to this program. In my online research (*cough*Pinterest*cough*) I found the idea of recycling two liter soda bottles into time capsule vessels.


I happen to have a family member who drinks a fairly significant amount of Diet Coke, and they were happy to save their bottles for me. This lead to me standing in the staff kitchen with an impossibly giant knife slicing 30+ bottles in half, while trying not to send myself to the ER for stitches.


The slicing of the bottles was the most time-consuming part of planning. The rest consisted of setting our craft supplies to decorate your capsule, and printing some handouts.

I kept the craft supplies to glitter glue, stickers, and adhesive foam cut-outs. I wasn't exactly ready to clean up paint today.

One of the handouts was information about what a time capsule is, and all the ways you can personalize it to make it special to you. The rest were sheets to fill out about your life in the last year; the idea was to fill them out and put them in your time capsule, then see how your life has changed when you open your time capsule a year or more from now.


I even found out that you can register your time capsule with the official International Time Capsule website! It turns out anyone can do this, whether it's a thousand-year capsule made of titanium being buried in a public place, or a shoe box you plan to keep in the back of your closet. I set out one of our laptops with the website in case anyone wanted to register theirs, and a few people took advantage of this cool opportunity.

I gave out this handout as well, with information about what a time capsule is and why you should want to create one (click to enlarge and read).

I think the people who attended this program had a good time, and I hope they come back a few years from now and let me know how they enjoyed looking through their 2017 time capsule!