If it ain't broke, don't fix it. Over the last few months I've found this program is best structured as unstructured play time. I lay out egg shakers, rhythm sticks, and other musical instruments, and let the kids explore whatever they're attracted to. I also set up the craft as a station in one corner of the room, so families can drift over a few at a time instead of all at once. Especially since many of the participants just got out of the 30-minute structured program Learn and Grow with Rhythm and Flow, this more relaxed setup has been pretty successful.
All you need for this project are two spoons, a plastic egg, dry beans, and packing or duct tape. Fill the egg with beans (rice would work too, but would be messier), tape a spoon on each side, and you've made your own egg shaker with a handle for little hands to easily grab! We used packing tape because you can still see the color of your egg through the clear tape. Duct tape would be fun if you have colored or patterned tape, or plan to decorate it with markers or stickers.
I was once again too busy running the program to take pictures, but it was fun! I got some very positive verbal feedback from a couple of moms, that they like how I make this program both fun and educational. LGRF and Music Lab will be going on a hiatus for the summer while I focus on teen volunteers and theater day camp, but it'll be back in August!
The Project: Wax Paper and TP Roll Kazoo
This is a classic DIY musical instrument, and very easy to make. All you need is a toilet paper roll, a square of wax paper, and a rubber band. To jazz them up, I also put out stickers for the kids to decorate their instrument.
The most basic version
I learned something interesting while watching the kiddos and their grownups put this instrument together: a kazoo made out of a toilet paper roll takes more intentional humming than a manufactured kazoo. You have to position your mouth just so at the opening of the roll, and leave an opening for the air to get out, or the humming sound won't happen. When you figure out just the right position, the instrument does make a very satisfying vibration along with the hummmmmmm...
This is another project that we did during Build Your Own Musical Instrument last summer. At the time, this sign accompanied the project. Today's program was much smaller, so I just verbally explained how to make the kazoo and showed the one I had made as an example.
Program Structure
Today's structure was very similar to February's, with the program being more of a drop-in free play situation rather than an instructional class. I like the Music Lab much better this way since it does follow my Learn and Grow with Rhythm and Flow storytime, which is 30 minutes of intense brain work for the kiddos as they dance, sing, and make music.
In addition to the craft station, I laid out jungle bells, cymbals, and wood giros with scrapers (I didn't know the term for them before Google, but these things have been in every preschool classroom in America since the 80's). Another low-stress and successful educational music program!
The Project: Drum/Shaker Instrument
This was an instrument that I kind of cobbled together from several different ideas of DIY instruments from household objects. I found a very cool drum made from a balloon stretched over the opening of a plastic cup, and that was going to be the project.
Think these, but made with Solo cups because tin cans are hard to find these days and the edge can be dangerously sharp.
After I thought about the cup drums for a while, I thought about the big empty space inside the plastic cups. We had the large size already in the supply cabinet so that's the size I planned to use (think college dorm party Red Solo Cups), and that seemed like a waste of materials. So, I delved deep into the same closet and found a giant bag of uncooked rice. I figured if you add a handful of rice before stretching the balloon over the cup's opening, you'd have a drum AND a shaker!
The supplies for this project ended up being uncooked rice, large plastic cups, and balloons. We also needed scissors to cut the ends off the balloons. The picture shows rubber bands to keep the balloons on, but I didn't find rubber bands necessary when using plastic cups. Tip if you're thinking of doing this project: HAVE EXTRA BALLOONS AVAILABLE! I didn't realize it when I made my demo drum, but balloons have a tendency to break if you're stretching them in unnatural ways. I ended up having to leave the room during the program to grab more balloons, which is something I try my best not to do.
Another tip that never even crossed my mind until it was a real-life situation: beware of latex allergies when working with balloons. There was one child who's mom had to do some quick redirecting when they realized the craft involved balloons because of skin allergies. I try to remember food allergies, but often forget there are other types of allergies that can be just as serious. Luckily, this particular mom was very adept at redirecting her kiddo without any kind of tantrum or hurt feelings. In the future, I plan to announce the supplies aloud in case a kiddo has an allergy or sensitivity.
Program Structure
I was much happier with the Music Lab program this month. In January, I structured it more like an instructional program where we made our instruments and then learned chants together as a group. Today, I put out a couple containers of instruments as well as the instrument-making station and structured the program as a drop-in. This worked better for me since Music Lab happens directly after Learn and Grow with Rhythm and Flow (LGRF) and it sometimes takes a few minutes to recover from high-energy storytimes like that.
It also worked great for this craft in particular since it involved loose rice. I forgot that toddlers and any tiny, loose craft supply (rice, glitter, etc.) equals a big mess. Structuring the program this way allowed me to be in slightly more control of the rice and keep the mess in one area of the room for easier clean-up.
Before this morning, I was seriously considering cancelling future occurrences of program because it didn't have a solid direction and I wasn't sure it was a good library program. However, I got some great positive feedback from parents, singing the praises of the two programs together for their mix of education and entertainment. That coupled with a participant number over 70 has inspired me to keep Music Lab for Kids going for a few more months and see if it works out as a companion to LGRF.
I wasn't able to take many pictures because the morning was very busy, but I did get these two. It was a fun morning and another learning experience as a still-pretty-new programming librarian!
The Project: Noisemakers from Pool Noodles
We've all seen the musical instrument that looks like a wooden block with a piece of sand paper glued to one side. When you rub two together, they make a satisfying sound that adds depth to a musical combo.
The real version of sand blocks is also a great musical tool for preschoolers. The only thing they don't do when you make them out of pool noodles is loudly clap together...but like the teacher in the above video mentions, that sound is the enemy of every adult in the room. So maybe it's okay if our noisemakers can only be rubbed together.
If you're an avid reader of my blog (which almost no one is, so don't feel bad), you might remember this project from last summer when we made it during our huge Build Your Own Musical Instrument program. Since there were several options for instrument projects at that program, I made this poster to explain how to turn a pool noodle into a safe, fun, and easy noisemaker:
Today's group was much smaller and more attentive, so I was able to verbally explain the directions and there was no need for a sign.
To prep this craft, all I did was cut pool noodled into 3-inch pieces. I left them otherwise intact, leaving the splitting in half to the kids and their grownups. I figured it was a good opportunity to develop some fine motor skills. And don't worry, I handed out very dull plastic knives so there were no injuries to tiny fingers.
After everyone had cut their noodle in half, we learned two chants and a song that you can use the instrument with.
Chant 1: Rain on the Rooftop
Learning this chant happened in several stages.
1. Practice counting to four on an even beat (one-two-three-four-one-two-three-four etc.)
2. Each time you say a number, scratch your noisemaker one time.
3. Change it up; scratch the noisemaker on "one," "two," and "three," and put them on your shoulders on "four."
4. When thee group mostly gets that down, say the rhyme instead of counting out loud.
If you're musically inclined, you will recognize this as being in 4/4 time starting on the down beat.
Here is the rhyme, showing where each number of the beat falls:
Rain on the rooftop
1 2 3 4
Rain on the tree
1 2 3 4
Rain on the green grass
1 2 3 4
But none on me!
1 2 3 4
And here it is with Xs showing when you should scratch your noisemaker:
Rain on the rooftop
X X X
Rain on the tree
X X X
Rain on the green grass
X X X
But none on me!
X X X
With this exercise, I gave the parent tip that breaking down simple 4/4 rhythms by counting is a great way to start understanding how rhythm works.
Song: B-I-N-G-O
Our second exercise was one everyone knows. After the mind-bender that was Rain on the Rooftop, we needed something fun and easy. We sang the song B-I-N-G-O, but every time we dropped a letter, we scratched our noisemaker instead of clapping. The group loved it! I hung up this visual aid to help the grownups (and any kids already reading words) follow along.
Chant 2: Hippo on the Bus
Even though the kids were getting pretty wiggly by this point, we had ten minutes left in the program and I had one more chant up my sleeve. I've used it before and it's always a major hit. Instead of the usual method of making a beat by slapping our thighs, today we made the beat with our noisemakers. We tried out a few different speeds, including a super fast one that was just for fun. This seemed like the perfect way to end the program.
A hip, a hip, a hippopotamus
Got on, got on, got on a city bus
And all, and all, and all the people fussed...
STOP SQUISHING US!
(On that last line, squish your cheeks in from both sides so your mouth looks funny and speech is distorted, as if you were being squished by a hippo. Today we squished our faces with the halves of our noisemakers, which made it extra funny.)
Even though running this program kept me busy, I was able to get the group together with their noisemakers for a picture at the end. I'm so glad they had fun!
It's December, which can be a tricky time for those of us working in public service. You don't want to ignore Christmas, but at the same time want to be inclusive of all the other cultural holidays that take place around this time of year. Usually, I solve this problem by sticking with a theme of "winter" instead of focusing on any one holiday. The No Snow, Snow Day program was something we did last December with fantastic participant numbers, so we decided to have it again this year.
This program was structured as drop-in stations, something I've learned our community prefers to an instructional program where you have to stay the whole time. We had three stations: sensory snow, shape penguins, and coffee filter snowflakes.
Sensory Snow
Supplies: baking soda, white shaving cream, large bin.
Mixing equal-ish parts baking soda and shaving cream creates a chemical reaction that makes the substance cold like snow! I did learn that if we do this program again next year, we'll need A LOT more baking soda since it sort of dissolves when hit with the shaving cream. The kids loved playing with the "snow," but I would have liked for the bin to be more full.
The mess afterward... But it vacuums up easily and smells great!
Coffee Filter Snowflakes
Supplies: white coffee filters, safety scissors
Surprisingly, this was the most difficult project for the kids to grasp. I found myself sticking close to the snowflake table in order to explain how to fold and cut the filters so that when you unfold them, you have your own originally designed snowflake. After they got the hang of it, our 4-6-year-olds especially seemed to enjoy this activity.
Being silly with snowflakes
Shape Penguins
Supplies: black and white paper cut into shapes, orange triangles, glue sticks, googly eyes (we used self-adhesive ones and they worked great)
I like this activity because all ages of kids can tailor it to their personal skills. The younger ones can work on matching rectangles with rectangles or circles with circles, while the older ones can combine the shapes to make a more advanced penguin. It's also nice because if you don't have much time to prep, you can let the kids cut out their own shapes. If you have more time to prepare for the program you can do what I did and cut out the shapes ahead of time so participants can focus on matching shapes and creatin
The four examples: rectangle, square, circle, and oval.
Storytime regular with her circle penguin!
Penguin and snowflake
Advanced penguins--they even added a background!
Working hard on shape penguins
If there's one thing I've learned while working with this community, it's that drop-in themed programs like this are always a slam dunk. We had over 80 people at this program, and everyone found something they liked. I love watching caregivers encourage their kids to make things and be creative!
Sometimes when I'm short on programs, I refer to those online calendars that list every single local and national holiday that's ever been celebrated. That's how I found out that National Tongue Twister Day is November 8th. I wanted to have a tongue twister program, but couldn't figure out what we would actually DO in that program until I started searching for tongue twister-related crafts and activities. Thanks to a bunch of websites I didn't keep track of, I came up with a plan.
Station 1: Craft
Using only markers and construction paper, you can make this awesome tongue twister craft! I took it one step further and actually cut a slit in the mouth with scissors so the tongue could literally stick through. Some of the results were terrifying (mostly mine because I can't draw faces) and others were downright adorable. This is an example from Teaching Madness. Unfortunately, I was too busy running the program to get pictures of what our patrons made.
Station 2: Twister
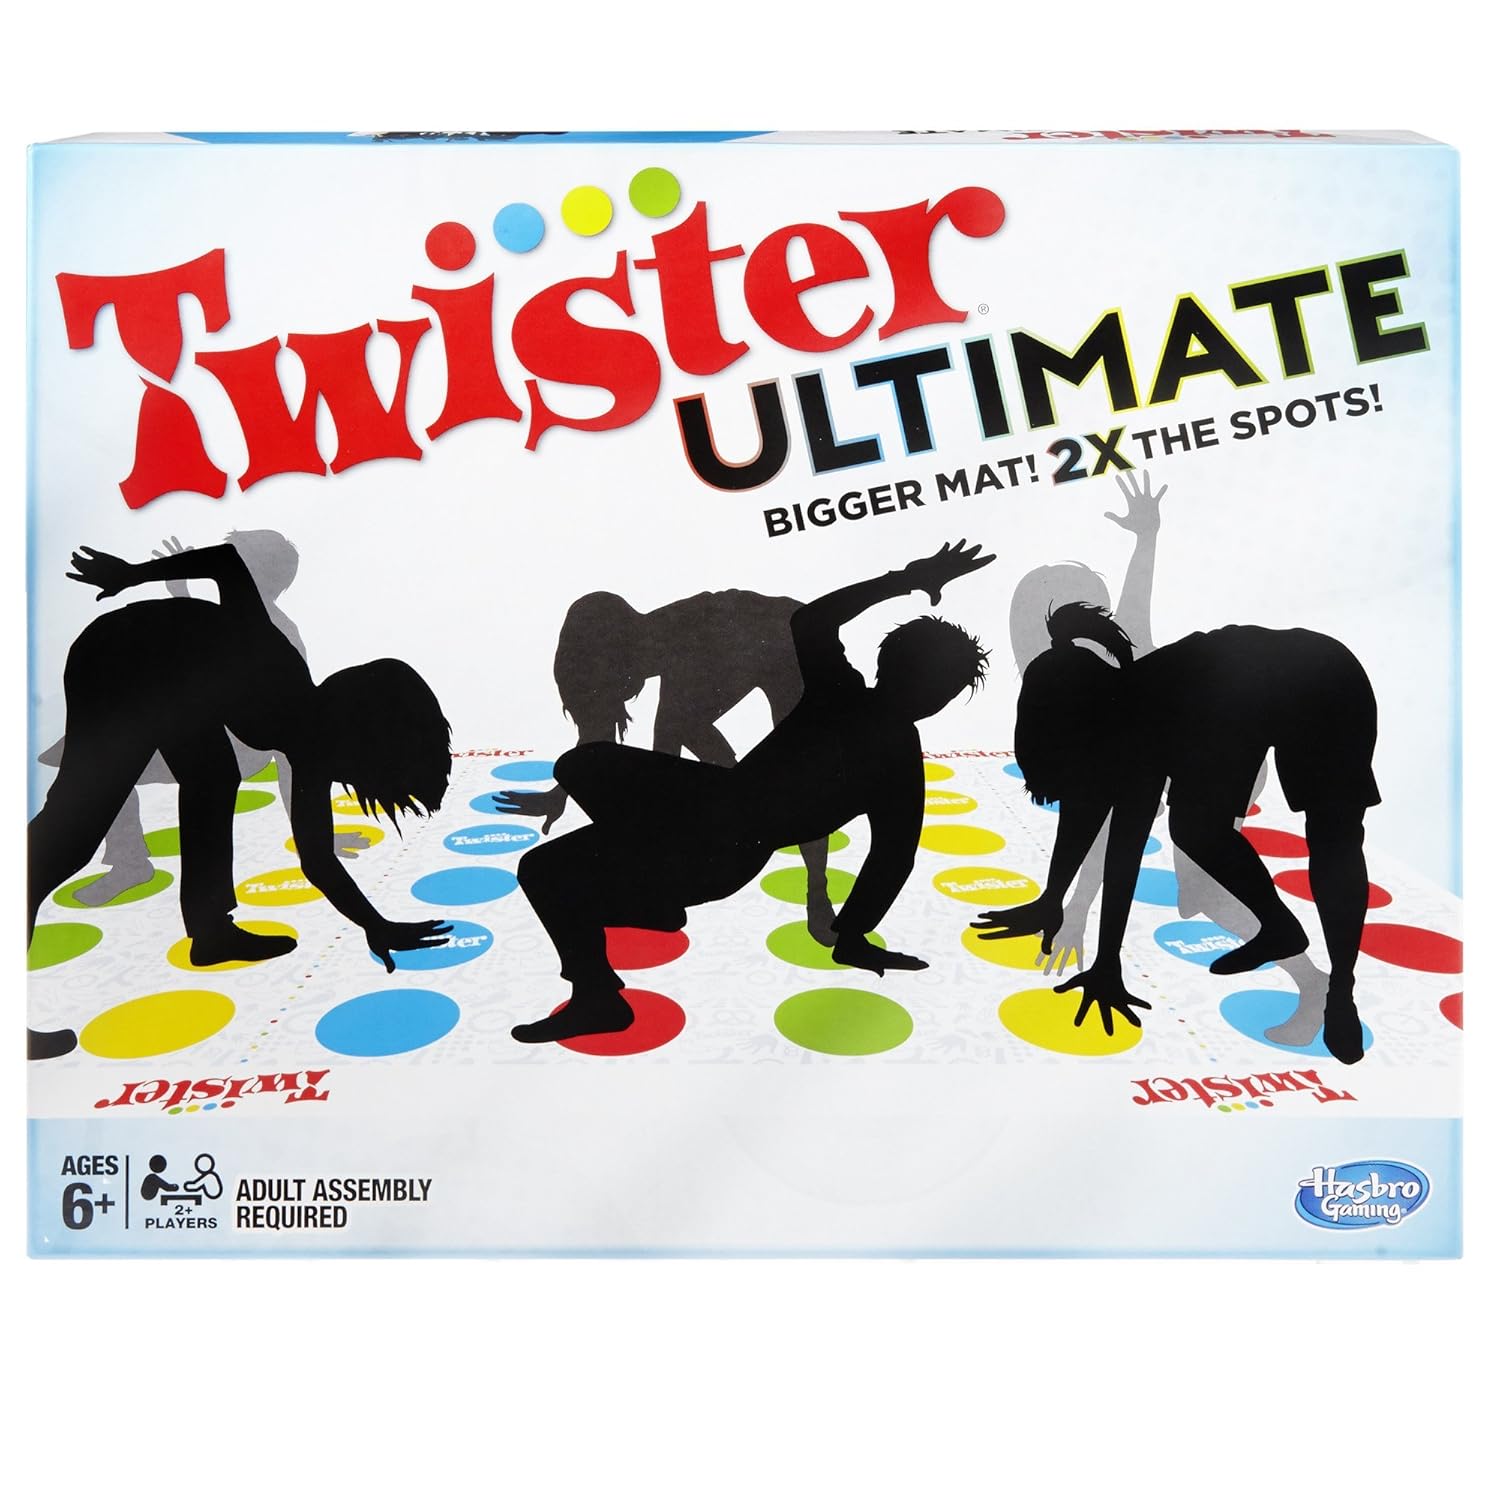
I ordered the actual game of Twister for this program. When I was clicking around Amazon looking for the best version, I found out that Finger Twister is a thing, too! I had to order two Finger Twisters in addition to an extra-large Twister board.
Station 3: Tongue Twisters
Of course, no tongue twister program would be complete without people actually reading them aloud. I set up the microphone and encouraged everyone to pick a tongue twister out of a hat and step up to the mic. Everyone who read one was entered into a drawing to win one of four prizes: the two Finger Twister sets, a small tongue twister coloring book, or a 3D printed Einstein with his tongue sticking out.
This is just the 3D printer template. The finished product was much less terrifying.
This was a fun program that I might repeat in the summer or the next time National Tongue Twister Day rolls around!
As the deadline to plan October programs approached, I realized I wasn't doing anything seasonal except the big Halloween storytime we do yearly. In the interest of trying to make myself more excited about Fall (it's getting cold and the trees are dying...yay?) I decided to put together a fun Fall craft program.
We had three stations: crayon rubbings, torn paper trees, and painted leaf prints. I structured this program as a drop-in for an hour and a half, and over 30 people came to make leaf art with me! This was a fun, easy program that I put together with things we already had in our supply room. If you want to recreate it, here is a supply list:
Torn Paper Trees
Torn construction paper in Fall colors
Brown construction paper for trunk
White paper for background
Glue sticks
Scissors
Painted Leaf Prints
Washable paint in Fall colors
Paper Artificial Leaves
Also, it's becoming a wonderful theme that the kids who come to my programs are more creative than I am. Some of them figured out that the Leaf Rubbing Plates also make great paint prints! Here are some of the gorgeous finished products they made.
Torn paper tree and rubbings examples and supplies
I wasn't sure what I was getting into with this program, but by the end it turned out to be one of my favorites! The concept was simple: Set out a bunch of random craft supplies and large pieces of butcher paper, and let the kids make whatever they wanted with the intention of beautifying our library.
I had some pre-cut paper pieces in the shape of butterfly wings, rectangles, circles, flower stems (the rectangles and circles can be strategically placed to look like a flower), and triangles. I was delighted to find the kids took these and ran with them! Some copied my sample flowers and butterflies, and others went off the map completely, turning the circles into caterpillars and other incredibly creative things I would never have thought of. This is proof of what I have been saying since last October's Mad Science: children are more creative than I could ever hope to be. That's why I've started structuring my programs a lot less, and just letting them run with the supplies I put out to see what they'll come up with.
I also printed a large banner in 11x17 pieces and set it out on the table for anyone to color. After the program I put the banner together and laminated it to hang up with some of the art. Here are the creative and colorful results:
Some of our first attendees starting their projects